CNC Brake Caliper Brackets: Machining & Tolerances (2026 Guide)
If you have ever chased a brake pedal that feels vague after a pad change, the culprit is rarely the pads. More often it is the bracket that holds the caliper. A brake caliper bracket looks like a simple stamped or milled plate, but it is the load path between your caliper and the knuckle — and it decides whether the pad bites square, whether the pistons retract evenly, and whether the whole assembly survives years of heat cycles and road salt. Get the bracket wrong by a few hundredths of a millimeter and you get uneven wear, noise, and a caliper that walks out of alignment.
This guide is written for the engineer or buyer who has to specify, source, or verify CNC brake caliper brackets — whether for an aftermarket performance kit, an electric commercial vehicle, or a low-volume specialty platform. We will walk through how tight tolerance CNC machining turns a raw aluminum or steel block into a bracket you can trust, where the tolerance actually matters, how stainless steel mirror finishing protects it, and what you should demand from a supplier before you release a purchase order.
Everything here is framed from the buyer's side: what the spec sheet should tell you, what it quietly leaves out, and how to use real, verifiable numbers — not adjectives — to pick a machining partner. For context on how we hold these parts, see our CNC precision machining guides and our Dongguan Licun Technology capabilities page.
Table of Contents
- 1. Why Brake Caliper Brackets Demand Tight Tolerance CNC Machining
- 2. CNC Precision Machining of Brake Caliper Brackets: The Process
- 3. Material Choices: How Stainless Steel Mirror Finishing Protects Brake Caliper Brackets
- 4. Brake Caliper Brackets vs Tooling and Fixtures CNC Parts: What Differs
- 5. Tolerance Stack-Up: Why Tight Tolerance CNC Matters for Brake Caliper Brackets
- 6. Custom CNC Parts vs Standard Brackets: A Sourcing Decision
- 7. Tooling and Fixtures CNC Parts: How We Hold Brake Caliper Brackets During Machining
- 8. Buyer's Checklist: What to Verify Before Ordering Brake Caliper Brackets
- 9. Common Mistakes When Sourcing CNC Precision Machining for Brake Caliper Brackets
Tooling&Fixtures CNC precision component
Why Brake Caliper Brackets Demand Tight Tolerance CNC Machining
The bracket is the quiet part that decides whether your caliper stays put.
A brake caliper bracket is not a cosmetic cover. It locates the caliper in space relative to the rotor, carries the clamping reaction force every time you stop, and must hold that position across temperature swings from ambient to 300 °C at the disc and back, thousands of times. If the mounting bores drift or the pad-abutment faces are not parallel, the caliper twists under load and the inboard pad drags. That drag shows up as heat, reduced range on an EV, and premature wear.
What a brake caliper bracket actually does
At minimum the bracket defines three things: the radial position of the caliper relative to the disc, the axial gap to the disc faces, and the angular clocking of the pad slots. On a floating caliper the bracket also carries the slider pins, so its bore spacing controls how evenly the two pads apply. On a fixed caliper the bracket is often integrated into the carrier, but the mounting interface still has to hold the caliper body dead square to the rotor.
Where the tolerance matters most
- Mounting bore spacing and diameter — if the pins or bolts sit off by more than a few hundredths of a millimeter, the caliper cocks and one pad stays loaded.
- Pad-abutment face flatness — the machined ledges that locate the pad backing plate must be coplanar so the pad seats without tilt.
- Bracket-to-knuckle datum faces — the surfaces that bolt to the hub carrier set the whole stack-up; they need to be flat and parallel to the bore axes.
- Rotor-center distance — the radial location controls pad sweep and whether the pad overhangs or under-covers the disc.
Tooling&Fixtures CNC precision component
CNC Precision Machining of Brake Caliper Brackets: The Process
From a raw block to a bracket that holds its position — three stages.
CNC precision machining is what makes the bracket repeatable part after part. A casting or extrusion can get you close to shape cheaply, but the datums that matter — bores, abutment faces, mounting planes — have to be cut where they need to be. Here is the three-stage flow we run, and what each stage buys you as the buyer.
Stage 1 — Roughing and establishing datums
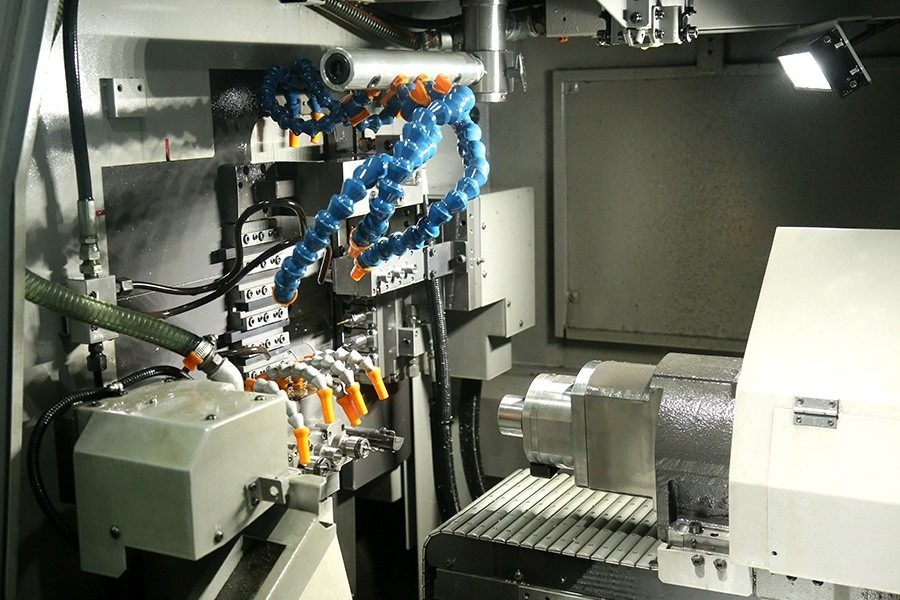
We start from aluminum 6061/7075 or a low-carbon steel blank and remove the bulk with a turn-mill compound or 3+2 setup. The point of this stage is not speed alone; it is to cut the primary locating datum first so every later operation references the same face. On our floor we use Swiss-type and turn-mill machines so a bracket can be roughed and semi-finished in one clamp, which removes a whole class of repositioning error.
Stage 2 — Finishing the safety-critical features
Once the part is located, the bores, abutment faces, and mounting planes are finished in a single setup where possible. Holding them in one clamp keeps their relationship locked to ±0.005 mm. We verify the first article on a CMM and feed the numbers back before the run continues — that is the difference between 'the drawing says it fits' and 'this specific lot was measured to fit'.
Stage 3 — Surface treatment and verification
Finally the bracket gets its finish — anodize or hard-coat for aluminum, or passivation per ASTM A967 for stainless — and a final inspection. For exposed brackets we can take the sealing faces to an 8K mirror (Ra 0.2 µm) so road grime and salt have nowhere to bite. Every lot is tied to its incoming material certificate and a batch-traceability record, so you can trace a bracket back to the bar it was cut from.
Material Choices: How Stainless Steel Mirror Finishing Protects Brake Caliper Brackets
Aluminum for mass, steel for strength, stainless for corrosion — pick by duty.
Most performance and OE brackets are aluminum because it is light and easy to machine, but aluminum corrodes near the coast and galls on slider pins if the finish is wrong. Steel brackets are stronger for heavy commercial or off-road duty but add unsprung mass. Stainless brackets with a mirror finish sit at the premium end: heavier than aluminum, but they shrug off salt and look clean for years. The finish you specify matters as much as the base metal.
- Stainless steel mirror finishing
- A polished surface taken to Ra 0.2 µm (8K class) so corrosive agents and debris cannot lodge in micro-valleys; often paired with ASTM A967 passivation.
- Anodize / hard-coat
- An electrolytic oxide layer on aluminum that adds corrosion and wear resistance; hard-coat is thicker and more abrasion-resistant.
- ASTM A967
- The US standard covering passivation of stainless steel to maximize corrosion resistance by removing free iron from the surface.
| Property | Aluminum 6061/7075 | Low-carbon steel | Stainless (mirror) |
|---|---|---|---|
| Density / mass | Light (2.7 g/cm³) | Heavy (7.8 g/cm³) | Heavy (7.9 g/cm³) |
| Strength | Good (7075 high) | High | High |
| Corrosion near coast | Needs anodize | Needs coating | Excellent, mirror + passivated |
| Machinability | Excellent | Good | Good |
| Typical use | Performance / EV | Commercial / off-road | Premium / exposed |
If your brackets live behind the wheel where road salt flies, stainless steel mirror finishing plus ASTM A967 passivation is the lowest-maintenance answer — the mirror surface gives corrosion nowhere to start and reads as a quality signal on a visible part. For a lightweight performance build where every gram counts, anodized 7075 aluminum is usually the call. Either way, ask your shop which finish they actually validate, not just which they can apply.
Tooling&Fixtures CNC precision component
Brake Caliper Brackets vs Tooling and Fixtures CNC Parts: What Differs
A bracket is a part; the fixture is what holds it. Both need precision, for different reasons.
Buyers sometimes confuse brake caliper brackets with the tooling and fixtures CNC parts we make to hold components during machining. They are different animals. A caliper bracket is a finished, safety-related component that ends up on a vehicle. A fixture is a work-holding tool that lives on our shop floor and never leaves the building. Understanding the difference helps you judge what 'precision' means in each case.
| Factor | Brake caliper brackets | Tooling and fixtures CNC parts |
|---|---|---|
| End use | On-vehicle, safety-critical | Work-holding on the machine |
| Tolerance driver | Fit, braking feel, safety | Repeatability of the part it holds |
| Finish need | Corrosion + appearance | Wear resistance at contact points |
| Traceability | Material cert + batch required | Internal log sufficient |
| Volume | Often thousands per month | Low, made to order |
The reason this matters to you: the same tight tolerance CNC discipline that makes a caliper bracket fit also makes the fixture that machines it repeatable. When we quote your bracket, we are implicitly quoting the fixtures and jigs that hold it — so a shop that is good at tooling and fixtures CNC parts is usually also good at holding your bracket's datums. Ask to see the fixture concept; it tells you how seriously they take your stack-up.
Tolerance Stack-Up: Why Tight Tolerance CNC Matters for Brake Caliper Brackets
Every feature you add to the stack eats your budget — spend it where it counts.
Tolerance stack-up is the quiet killer of brake brackets. The bracket does not fail in isolation; it fails where its tolerances add to the knuckle's tolerances and the caliper's. Your job as the specifier is to tighten the features that drive fit and loosen the ones that do not. Tight tolerance CNC lets you do that selectively instead of over-specifying the whole part and paying for it everywhere.
- List the features that set caliper position: bore spacing, abutment face flatness, mounting datum parallelism.
- Assign the tightest tolerances (±0.005 mm class) only to those features.
- Open up non-critical features — outer contour, lightening pockets, cosmetic edges — to a looser band.
- Check the stack against the caliper and knuckle drawings before release; if the sum exceeds your assembly window, move a tolerance, not the whole budget.
- Require a first-article CMM report that measures exactly the features you called out tight.
| Feature | Wise tolerance | Why |
|---|---|---|
| Mounting bore spacing | ±0.005 mm | Sets caliper clocking and pad balance |
| Pad abutment flatness | ±0.01 mm | Seats pad without tilt or drag |
| Datum face parallelism | ±0.01 mm | Anchors the whole stack to the knuckle |
| Outer contour / pockets | ±0.1 mm | Cosmetic, no fit impact |
Tooling&Fixtures CNC precision component
Custom CNC Parts vs Standard Brackets: A Sourcing Decision
Off-the-shelf saves money; custom CNC parts earn it back in fit and lead time.
For a common passenger car, a catalog bracket is almost always the right answer — someone else has already paid for the tooling and validated the fit. The moment you are on a low-volume platform, a restomod, a specialty EV, or a bracket that has to clear a non-standard rotor, the math flips. Custom CNC parts let you get the exact datum relationship you need without committing to a die, and they let you iterate the design across a few lots before you lock tooling.
Pros
- Standard bracket: low unit cost, ready stock, known fit for common platforms
- Custom CNC part: exact geometry, fast design iteration, no tooling commitment
- Custom CNC part: traceable material and inspection for safety-critical use
Cons
- Standard bracket: unavailable for niche or modified platforms
- Custom CNC part: higher unit cost at low volume
- Standard bracket: limited material/finish choices
At LusterControl we run both models from the same floor — small-batch custom work and mass production of up to 500,000 parts a month — so the decision is not 'custom shop vs volume shop,' it is 'which geometry and volume fits your program.' For a prototype or a 2,000-unit specialty run, custom CNC parts are usually cheaper than amortizing a die you will barely use.
Tooling and Fixtures CNC Parts: How We Hold Brake Caliper Brackets During Machining
The bracket is only as accurate as the fixture that locates it.
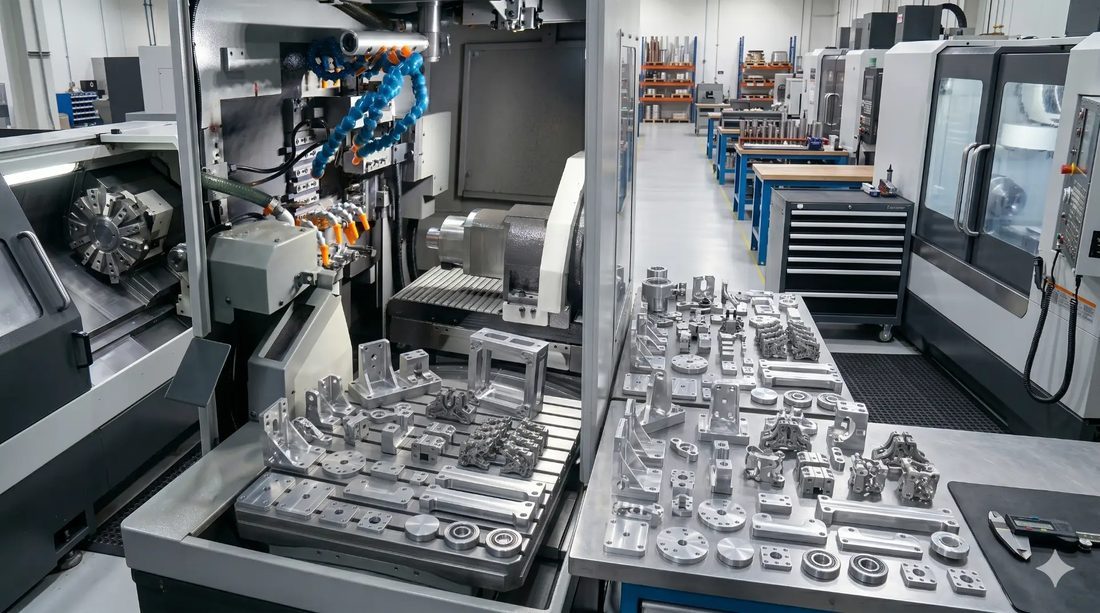
Precision is decided at work-holding, not at the spindle. For a caliper bracket the fixture must locate the part on the same datums the caliper cares about, and it must hold those datums through roughing and finishing without the part flexing. We design dedicated fixtures and jigs for bracket runs so the critical bores and abutment faces are finished in one clamp — that is how we keep the relationship to ±0.005 mm instead of hoping two setups agree.
- 2-3-1 locating principle: two pins locate, one surface seats, the rest is clamped — no over-constraint that fights the datum.
- Soft jaws or custom nests shaped to the bracket so thin walls do not deflect under the cut.
- Probe-on-table verification: the machine checks the datum before finishing so a shifted blank is caught, not machined wrong.
- Fixture wear tracked and replaced on a schedule so a worn locator never quietly drifts your tolerance.
When you evaluate a shop, ask to see the fixture plan for your bracket. A supplier who can show you the locating scheme and the wear-control plan is showing you they understand tooling and fixtures CNC parts as the foundation of your part's accuracy — not just as a clamp they threw on the table.
Tooling&Fixtures CNC precision component
Buyer's Checklist: What to Verify Before Ordering Brake Caliper Brackets
Five things to demand in writing before you release the PO.
A brake caliper bracket is safety-related, so the buyer's job is to make the supplier prove the part — not promise it. Here is the verification checklist we hand our own customers, and the one you should send to any shop quoting your bracket.
- Material certificate (mill cert) for the exact alloy and heat — not '6061-type.'
- First-article CMM report measuring the tight-tolerance features you called out, not just overall size.
- Finish specification tied to a standard: anodize class, or ASTM A967 passivation plus a named Ra target.
- Batch traceability: lot ID linking each bracket to its material cert and inspection record.
- Dimensional tolerance call-outs on bore spacing, abutment flatness, and datum parallelism — explicitly, not as a general note.
- A stated quality system: ISO 9001 at minimum; for automotive programs, IATF 16949 (we hold it in application and run to its discipline).
If a supplier cannot produce the CMM report and the material cert on request, that is your answer. The bracket is cheap to machine and expensive to get wrong; the proof is in the paperwork, and the paperwork is free to ask for.
Common Mistakes When Sourcing CNC Precision Machining for Brake Caliper Brackets
The errors we see most often — and how to avoid each one.
After years of machining precision parts for brands like De'Longhi, Donlim, and Breville — and a UAV customer whose first order exceeded RMB 1.2 million — the failure modes are familiar. Here are the ones that bite bracket buyers specifically.
- Over-specifying tolerance everywhere, then paying for it on every operation with no fit benefit.
- Accepting a 'general ±0.1 mm' note instead of tight call-outs on bore spacing and abutment faces.
- Choosing a mirror finish on a hidden, coated bracket — paying for appearance nobody sees.
- Skipping the first-article CMM report and finding the drift at assembly, not at inspection.
- Selecting aluminum for a coastal or off-road duty without specifying the right anodize class.
- Treating the fixture as the shop's problem and never asking how the part is located.
The cheapest bracket is the one that fits the first time and never comes back for a recall. Spend your precision budget on the features the rotor cares about, and ask for the proof in writing.
Tooling&Fixtures CNC precision component
Tooling&Fixtures CNC precision component
Tooling&Fixtures CNC precision component
Tooling&Fixtures CNC precision component
FAQ: brake caliper brackets & Tooling&Fixtures Buyer Questions
A: Tighten only the features that set caliper position: mounting bore spacing and pad-abutment flatness to about ±0.005–0.01 mm, and datum-face parallelism to a similar band. Leave the outer contour and lightening pockets at ±0.1 mm. Over-tightening the whole part adds cost with no braking benefit.
A: Yes when the bracket is exposed to road salt or shown on a build. A mirror surface at Ra 0.2 µm plus ASTM A967 passivation gives corrosion nowhere to start. For hidden, coated steel or lightweight aluminum builds, anodize is usually the better spend. Match the finish to the duty, not the catalog.
A: Aluminum 6061/7075 for performance and EV builds where mass matters; low-carbon or stainless steel for heavy commercial, off-road, or coastal duty where strength and corrosion resistance win. Stainless with mirror finishing is the premium, lowest-maintenance choice for exposed brackets.
A: Require a material mill certificate, a first-article CMM report that measures your tight-tolerance features specifically, a finish spec tied to a standard, and batch traceability. A shop that produces these on request — like our Dongguan Licun Technology floor — is showing the discipline a safety-critical part needs.
A: IATF 16949 is the automotive quality management standard and is ideal for brake components. We hold ISO 9001, completed ISO 13485, and have IATF 16949 in application, and we run our bracket work to that discipline: documented controls, traceability, and first-article verification. For a production automotive program, confirm your supplier's cert status in writing.
A: Pick a standard bracket for high-volume common platforms. Choose a custom CNC part when you need a non-standard rotor relationship, a specific material or finish, or fewer than roughly 5,000 units where die amortization does not pay off. Custom also lets you iterate the design across a few lots before locking tooling.
Send us your brake caliper bracket drawing for a free DFM review — we will tell you which tolerances are doing real work and which are just adding cost, and quote the run from our Dongguan CNC floor.
Request a Free CNC Quote