How to Specify Precision Jigs and Fixtures for CNC Shops
A jig or fixture is the silent partner in every CNC cycle you run. If it holds the part a tenth of a millimeter off, then every single part that passes through it is a tenth off too - including the thousandth part at the end of a long shift. When you are scoping tooling for a high-mix or high-volume program, the jig is not an afterthought you hand to purchasing; it is the thing that decides whether your tolerances are real or merely theoretical.
So the useful question is not 'who can make me a jig cheapest?' It is 'who can I trust to hold the datum, design the wear surfaces, and verify the finish so my parts come out right every time?' This guide walks through exactly how we, as a tooling shop, would specify our own fixtures - and how you should pressure-test any shop you are considering. We keep it practical, the way an engineer would explain it to a colleague over a drawing.
We will cover what tooling machining really demands before you release a drawing, how mold inserts differ from precision jigs, why guide pins are load-bearing for repeatability, how to design wear blocks that survive production, the quirks of H13 steel machining, a checklist you can copy, and the mistakes we see buyers make most often.
Table of Contents
- 1. Why Precision Jigs Decide Whether Your CNC Parts Come Out Right
- 2. What Tooling Machining Actually Requires Before You Draw a Jig
- 3. Mold Inserts vs Precision Jigs: Which One Does Your Job Need?
- 4. Guide Pins: The Unsung Hero of Repeatable Fixturing
- 5. Wear Blocks and Tooling Machining: Designing for Abrasion Resistance
- 6. H13 Steel Machining for Mold Inserts and Wear Blocks
- 7. A Practical Checklist for Specifying Precision Jigs and Fixtures
- 8. Common Mistakes Engineers Make When Ordering Tooling Machining
Tooling&Fixtures AI part image
Why Precision Jigs Decide Whether Your CNC Parts Come Out Right
The jig is the difference between 'we hope it is right' and 'we know it is right, batch after batch.'
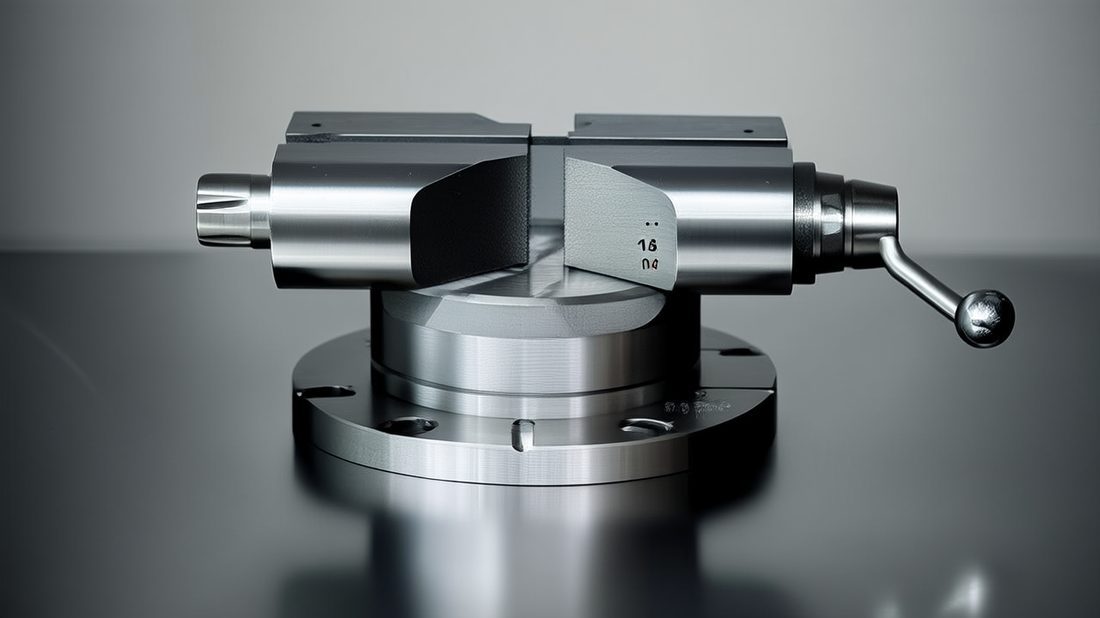
A precision jig does one job that sounds simple and is brutally unforgiving: it locates and holds your part the same way, every cycle, under real cutting load. Get it wrong and the error is not random noise you can sort out later - it is a systematic offset baked into every part, invisible until inspection rejects the lot. For the buyer, that means a fixture spec is a quality spec, not a purchasing afterthought.
What a good precision jig does for you
- It locates the part repeatably, so the same datum is used on the first part and the ten-thousandth.
- It clamps without distorting, so the part holds its shape while the tool is in cut.
- It shortens setup time, which is where most small-batch cost actually hides.
- It removes operator variability from the loop, turning one skilled set-up into a repeatable process.
- It protects your tolerance budget by taking human guesswork out of alignment.
The buyer's takeaway is straightforward: when you scope tooling, write the jig specification with the same care you give the production part. A shop that treats the jig as a commodity will hand you commodity repeatability - and you will pay for it in scrap and rework, not in the quote.
A fixture is only as accurate as the worst surface you forgot to specify.
Tooling&Fixtures AI part image
What Tooling Machining Actually Requires Before You Draw a Jig
Tooling machining has different goals from the production part - decide the basics before line one of the drawing.
Before a single line of the jig drawing is released, you need to settle what the jig is made of, how it will be held to tolerance, and how it will survive the production environment. Tooling machining is its own discipline. A fixture is expected to outlast the part it holds by orders of magnitude, so its requirements - stability, wear, re-certification - are different from the part's.
The three decisions you must make first
- Define the locating scheme - which faces and bores are your datums, and in what order they are touched by the machine.
- Choose the material and hardening path for the jig body and for the wear surfaces separately.
- Decide how the fixture will be inspected and re-certified over its service life, not just at first article.
- Datum
- A reference point, axis, or plane from which every measurement on the part is taken.
- 3-2-1 locating
- A classic scheme using three points on the primary plane, two on the secondary, one on the tertiary - six constraints, fully located, zero ambiguity.
- Wear plate
- A replaceable, hardened insert that takes the abrasion so the fixture body itself does not groove.
- Stress relief
- A heat treatment that releases internal stresses so the steel does not distort after you have finished it.
Specification decisions that shape the whole tool
| Factor | What to decide | Why it matters |
|---|---|---|
| Jig body material | Aluminum 7075 vs steel vs hardened tool steel | Weight and handling vs rigidity vs service life |
| Wear surfaces | Interchangeable plates vs integral | Cost to refurbish vs initial build cost |
| Datum tolerances | Held to ±0.005 mm on locating faces | Part repeatability depends entirely on this |
| Surface finish | Ra 0.2-0.6 µm on locating faces | Burrs and micro-peaks let the part shift |
| Heat treatment | Anneal, harden, stress-relieve in sequence | Dimensional stability over thermal and load cycles |
A shop that does tooling machining well will push back on your drawing if the datum scheme is ambiguous or the wear plan is missing. That pushback is a healthy signal: it means they are engineering your result, not blindly cutting your file.
Mold Inserts vs Precision Jigs: Which One Does Your Job Need?
Buyers often use 'jig,' 'fixture,' and 'mold insert' interchangeably. They are not the same, and the mix-up costs real money.
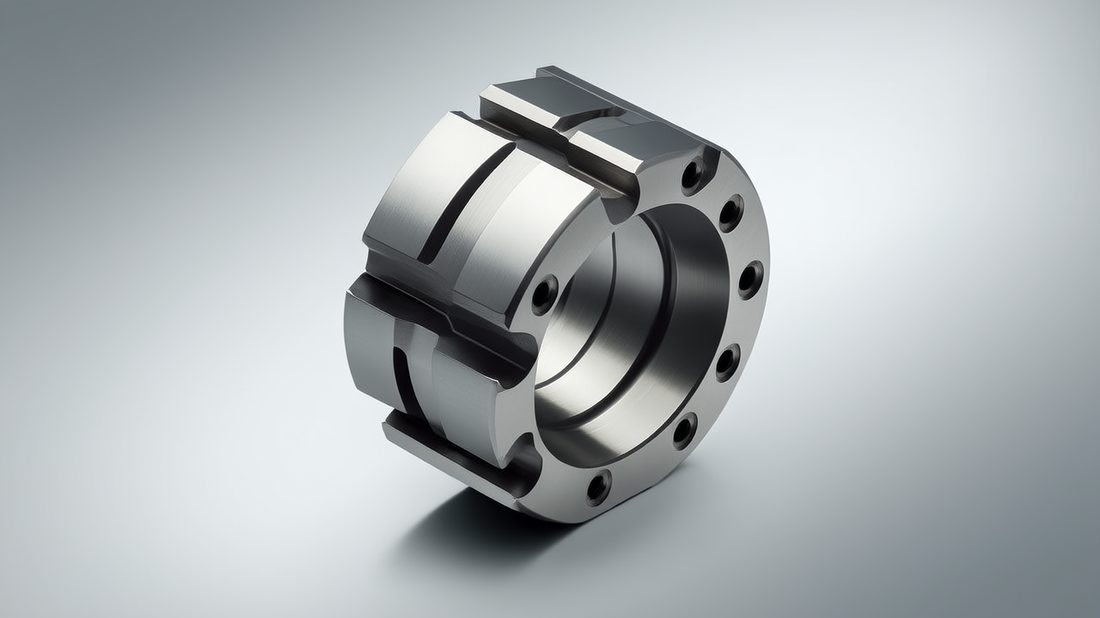
We hear the terms blurred constantly in RFQs, and it leads to the wrong quote and the wrong lead time. Here is the clean distinction from a buyer's seat: a mold insert shapes the product, while a precision jig locates and holds the product so a feature can be cut, inspected, or assembled in exactly the right place.
How they differ in function and failure
| Feature | Mold inserts | Precision jigs |
|---|---|---|
| Primary job | Form the net shape (cavity / form) | Locate and hold the part |
| Where used | Injection, stamping, embossing dies | Machining, assembly, inspection |
| Critical dimension | Cavity geometry and surface | Datum repeatability |
| Typical material | H13, S136, P20 tool steel | Steel, aluminum, hardened plates |
| Failure mode | Flash, short shot, cavity wear | Mislocation, scrap, rework |
| Typical tolerance | ±0.005 mm on form | ±0.005 mm on locating datum |
You need mold inserts when you are forming a part - molding, stamping, or embossing it into shape. You need precision jigs when you are machining, inspecting, or assembling that part afterward. Most serious programs need both, and the quality chain only holds if the same discipline governs each.
Pros
- Mold inserts deliver the net shape at volume, with surface quality baked in.
- Precision jigs guarantee every machined feature lands in the right place, every cycle.
Cons
- Mold inserts are expensive and slow to change when the design moves.
- Jigs can be outgrown by a product redesign and need re-workholding planning.
Choose by function: are you making the shape, or are you locating the shape someone else made? Answer that first, and the tool you need - and the shop you need - becomes obvious.
Tooling&Fixtures AI part image
Guide Pins: The Unsung Hero of Repeatable Fixturing
If a fixture 'drifts' over a shift, the culprit is usually the guide pins - small, cheap, and absolutely load-bearing for accuracy.
Guide pins are the alignment backbone of any two-half fixture. They are small relative to the program cost and easy to spec as a commodity - which is exactly why they get overlooked until repeatability falls apart. A tired or loosely toleranced pin quietly bleeds accuracy out of every cycle.
What a guide pin must do for you
- Align two fixture halves within ±0.005 mm, consistently, not just on the bench.
- Resist wear through thousands of open-and-close cycles without loosening.
- Stay corrosion-free in coolant mist and ordinary shop air.
- Be replaceable without re-machining the fixture body around them.
Materials and finishes we use
| Option | Trade-off | Best use |
|---|---|---|
| Hardened 440C stainless | Corrosion resistance, holds tolerance | Coolant-heavy or humid shops |
| Nitrided alloy steel | Very hard surface, lower unit cost | Dry, high-cycle fixturing |
| Chrome-plated steel | Low friction, easy release | Frequent open-and-close |
| 17-4 PH | Strength plus corrosion resistance | Medical- or food-adjacent tooling |
Treat guide pins like the visible end of your wear blocks: inspect them on a schedule and replace them before they fail, not after a lot rejects. A five-dollar pin is cheaper than a five-thousand-part scrap run, every single time.
Wear Blocks and Tooling Machining: Designing for Abrasion Resistance
Every fixture has surfaces that take abuse. Left as raw steel, they groove - and your tolerance walks.
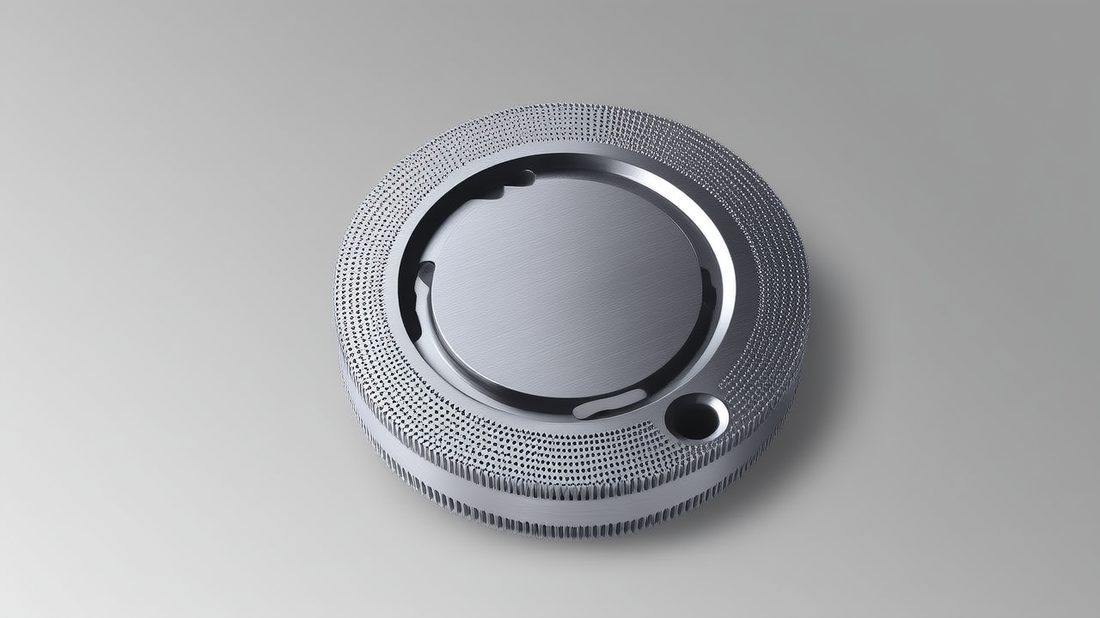
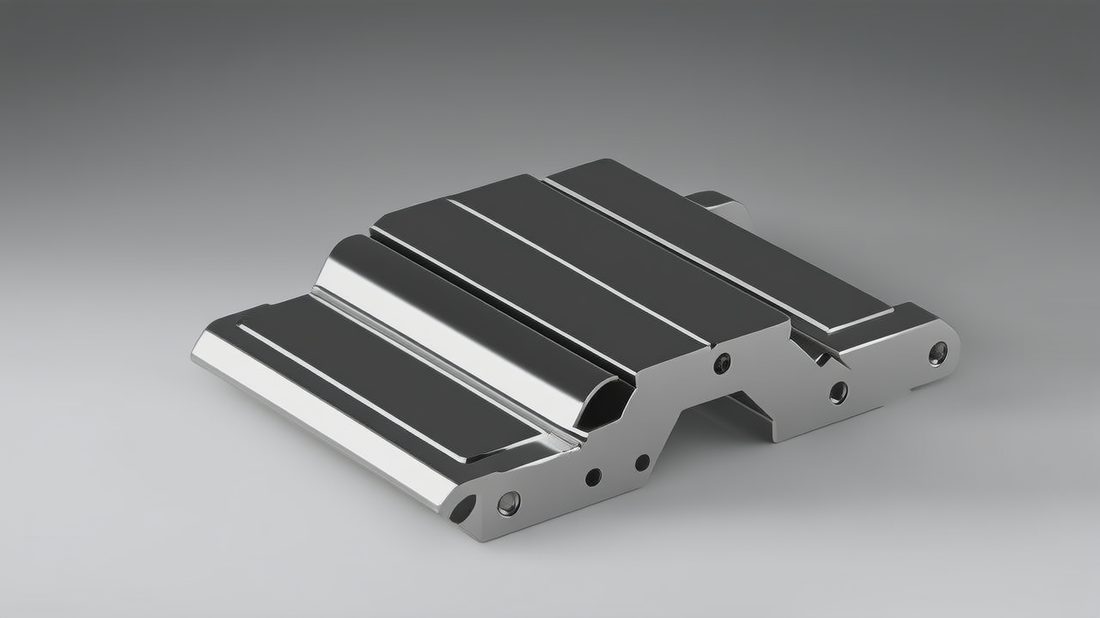
Clamps, locators, slides, and stripper plates all see motion against the part or another tool. Left as integral raw steel, those faces groove within weeks, and once they groove, the part shifts and your tolerance budget evaporates. Wear blocks are the disciplined answer, and proper tooling machining is how we make them right the first time.
Design rules for wear blocks that last
- Make the wear surface a separate, hardened, replaceable block - never the fixture body itself.
- Specify the grade by abrasion type: sliding, impact, or rolling contact each want different steel.
- Hold the mating face to ±0.005 mm and finish it to Ra 0.2-0.6 µm so the part seats true.
- Add location features (dowels) so a replacement drops in without re-indicating the whole fixture.
- Plan a spare set up front, so changeover is minutes of swapping, not a redesign.
- Through-hardened
- Uniform hardness through the section - best for impact loading.
- Case-hardened
- Hard skin over a tough core - best for sliding wear.
- Surface-treated
- Nitride or DLC coating on top of a hardened base for lowest friction.
Matching the material to the abuse
| Material | Hardness | Best against |
|---|---|---|
| D2 tool steel | 58-62 HRC | Sliding and abrasive wear |
| A2 | 58-60 HRC | Impact plus wear balance |
| Bronze | Soft | Galvanic-friendly, non-marring contact |
| Hardened 440C | 55-58 HRC | Corrosive plus wear environments |
The buyer's rule is unglamorous but reliable: if a surface moves against your part or another tool, assume it will wear, and design the wear block before you design the fixture body. The body is cheap to protect once the block is planned.
Tooling&Fixtures AI part image
H13 Steel Machining for Mold Inserts and Wear Blocks
H13 is the workhorse hot-work tool steel - but machining it like aluminum is how you get distortion and premature wear.
H13 is the default hot-work tool steel for mold inserts and many wear blocks because it holds up under heat and load. But H13 steel machining is nothing like turning 6061 aluminum. Get the approach wrong and you will fight work hardening, tool chatter, and heat-check cracking - and your cavity will drift out of true the moment it sees service.
How we machine H13 without the usual pain
- Pre-machine the bulk, then stress-relieve before finish cuts to kill distortion at the source.
- Use rigid tooling with lower speeds and heavier feeds than you would dare on aluminum.
- Keep the cutting edge sharp and flooded - heat is the enemy of H13, not the tool life headline.
- Finish to ±0.005 mm only after the part is stable and stress-free, never while it is still moving.
- Verify cavity geometry on a CMM and verify the surface on a profilometer, targeting Ra 0.2 µm on critical faces.
Choosing the right tool steel for the job
| Steel | Typical use | Machinability | Notes |
|---|---|---|---|
| H13 | Mold inserts, hot dies | Moderate | Heat-resistant; needs a rigid setup |
| P20 | Pre-hardened mold base | Good | Often used as the supporting frame |
| S136 | Corrosion-resistant cavities | Moderate | Stainless tool steel, medical-grade finish |
| D2 | Wear blocks | Lower | High wear resistance, harder to cut cleanly |
For you as a buyer, the practical question is not 'can they cut H13?' - almost anyone can start a pass. It is 'do they understand H13's quirks well enough to deliver a stable, long-lived cavity?' The answer shows up months later as distortion and premature wear, long after the invoice is paid.
A Practical Checklist for Specifying Precision Jigs and Fixtures
Copy this and send it to every shop on your shortlist. The answers will sort them faster than any sales call.
- Do they ask for the production part drawing, not just the jig drawing?
- Can they state the datum scheme (3-2-1 or equivalent) in writing?
- Will critical locating faces be held to ±0.005 mm and verified, not estimated?
- Do they design wear blocks as replaceable, dowel-located inserts?
- Can they machine H13, S136, and D2 and verify the surface finish (Ra)?
- Will guide pins be specified with a fit, not assumed as a commodity?
- Do they provide first-article inspection and a re-certification interval?
- Can the same source handle prototype jig through volume production without re-qualifying?
A shop that clears all eight is rare - and worth keeping. One that stumbles on datums or wear-block design will cost you in scrap long before any price difference shows up on the quote. Use the list as a filter, not a wish list.
Tooling&Fixtures AI part image
Common Mistakes Engineers Make When Ordering Tooling Machining
Most fixture failures were decided at the quoting stage, not on the shop floor.
- Drawing the jig without showing the part - the fixture has no context to locate against.
- Specifying the body material but forgetting the wear surfaces entirely.
- Treating guide pins as commodity parts instead of accuracy devices with a fit.
- Leaving finish as 'smooth' instead of a measurable Ra on the drawing.
- Designing wear blocks integral to the body, then scrapping the whole fixture when one face grooves.
- Choosing a shop on price alone, then paying the difference back in rework and scrap.
None of these are machining problems. They are specification habits - and a good tooling partner makes the right habit the default, so the disciplined choice is also the easy one. That is the shop you want holding your datum.
Tooling&Fixtures AI part image
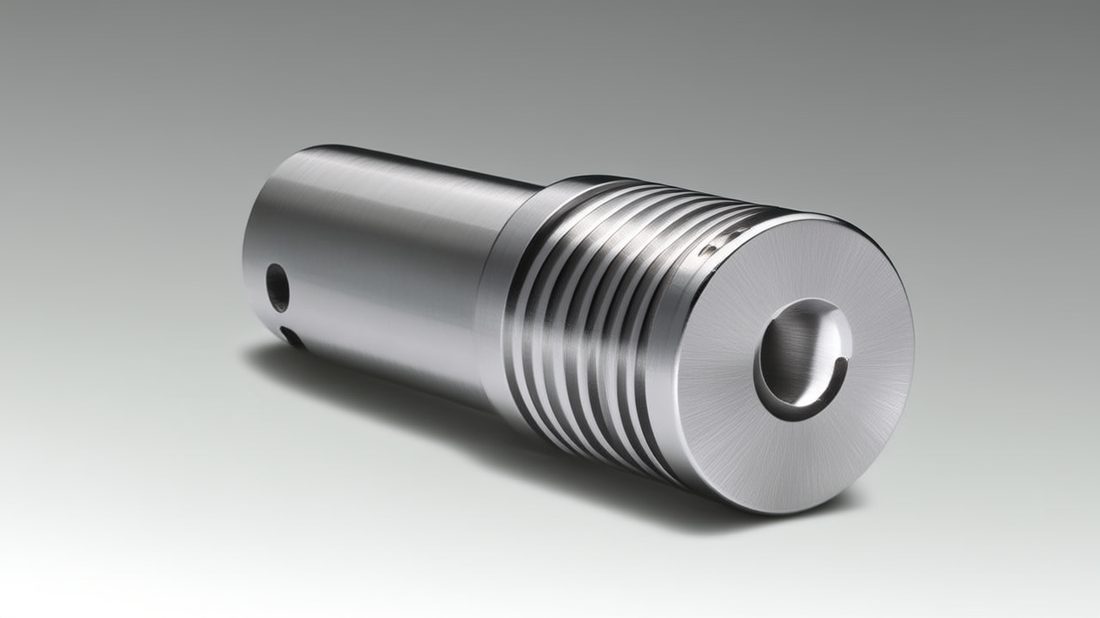
Tooling&Fixtures AI part image
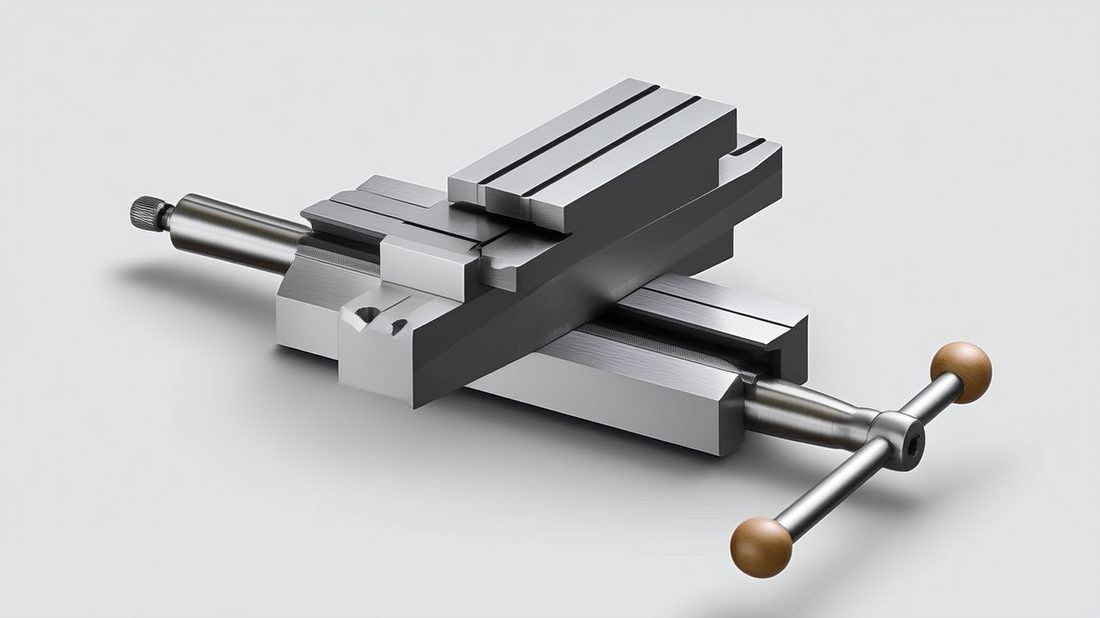
Tooling&Fixtures AI part image
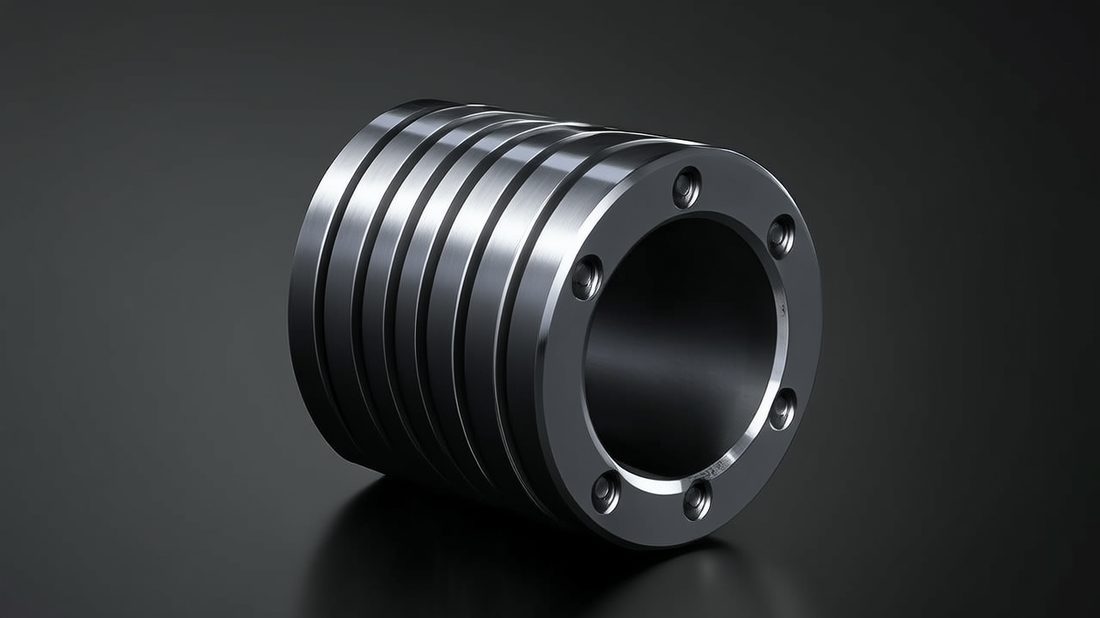
Tooling&Fixtures AI part image
FAQ: precision jigs & Tooling&Fixtures Buyer Questions
A: In practice the words overlap, but a jig usually guides the cutting tool as well as locating the part (think drilling jigs), while a fixture primarily locates and clamps the part for a separate operation. Both exist to make a process repeatable; the key buyer question is whether your part will be located the same way every cycle, to ±0.005 mm.
A: H13 is the standard hot-work choice for mold inserts because it resists heat and load; S136 is preferred when corrosion resistance or a medical-grade finish is needed; P20 is often used for the pre-hardened supporting frame. The right pick depends on the resin or process, cycle count, and surface requirements - not just price.
A: We routinely hold ±0.005 mm on critical locating datums and finish locating faces to Ra 0.2-0.6 µm, verified by CMM and profilometer rather than estimated. Body features that do not affect locating can be held looser on purpose to save cost - good tooling design matches tolerance to function.
A: Guide pins align two fixture halves within ±0.005 mm every open-and-close cycle. If a pin runs loose in its bushing, that slack becomes part of your locating error regardless of how precise the rest of the fixture is. Specifying the pin-bushing fit is one of the highest-leverage accuracy decisions you can make.
A: Yes. We machine H13, S136, and D2 on 60+ CNC centers with 5-axis and turn-mill capability, stress-relieving before finish cuts to avoid distortion, and we verify cavity geometry on a CMM and surface finish on a profilometer, targeting Ra 0.2 µm on critical faces.
A: Yes. We run first-article inspection on new tooling, support low-volume custom runs, and scale to monthly volume while keeping the same documented process and traceability - so your fixture can grow from first sample to full production without re-qualifying the source.
Ready to specify precision jigs and fixtures that actually hold your tolerance? Send us your part drawing and we will return a free DFM review of your tooling spec - datum scheme, wear-block plan, and tolerance recommendations, with no obligation and a clear engineering answer.
Request a Free CNC Quote