Specifying CNC Guide Pins and Bushings for Precision Jigs: 2026 Tooling Guide
If you have ever watched a fixture miss its repeatability by a hair and scrap a thousand parts before anyone noticed, you already know the truth: a precision jig is only as good as the locating pins and bushings holding the datum. Those small, often-overlooked cylinders decide whether your part seats in the same place on the ten-thousandth cycle as it did on the first. Get them wrong and nothing downstream matters.
In this 2026 guide we walk through how to specify guide pins and bushings for precision jigs the way a machining source actually plans them - where tooling machining tolerance is spent, how guide pins differ from bushings, why H13 steel machining earns its keep in long-life tooling, and where mold inserts and wear blocks demand a different call. We close with a buyer's checklist you can send a supplier today.
We have been a Dongguan source factory for CNC precision work since 2015, running 60+ machines across a 4,000 sqm floor with monthly output around 500k parts, certified to ISO 9001, with ISO 13485 completed and IATF 16949 in application. This is written from the shop floor, with the numbers we argue about with customers before the first bar is cut - not a catalog.
Table of Contents
- 1. Why Guide Pins Are the Backbone of Precision Jigs
- 2. How Tooling Machining Holds Locating-Pin Position to ±0.005 mm
- 3. Guide Pins vs Bushings: 6 Factors That Decide the Pair
- 4. Mold Inserts and Wear Blocks: Where Surface Hardness Wins
- 5. H13 Steel Machining for Long-Life Guide Pins and Bushings
- 6. A Buyer's Checklist for Precision Jigs and Locating Pins
- 7. Common Sourcing Mistakes for Mold Inserts and Wear Blocks
- 8. Which Tooling Machining Process Fits Your Volume?
Tooling&Fixtures AI part image
Why Guide Pins Are the Backbone of Precision Jigs
The pin is small; the cost of its error is not.
A locating pin does one job that sounds trivial and is anything but: it forces a workpiece or a mating tool to return to the same physical position every single time. In a precision jig that return-ability - what engineers call repeatability - is the whole point. If the pin wears 0.01 mm loose, every part cut against that datum drifts 0.01 mm, and the defect shows up ten operations later as a misfit nobody can trace to the jig.
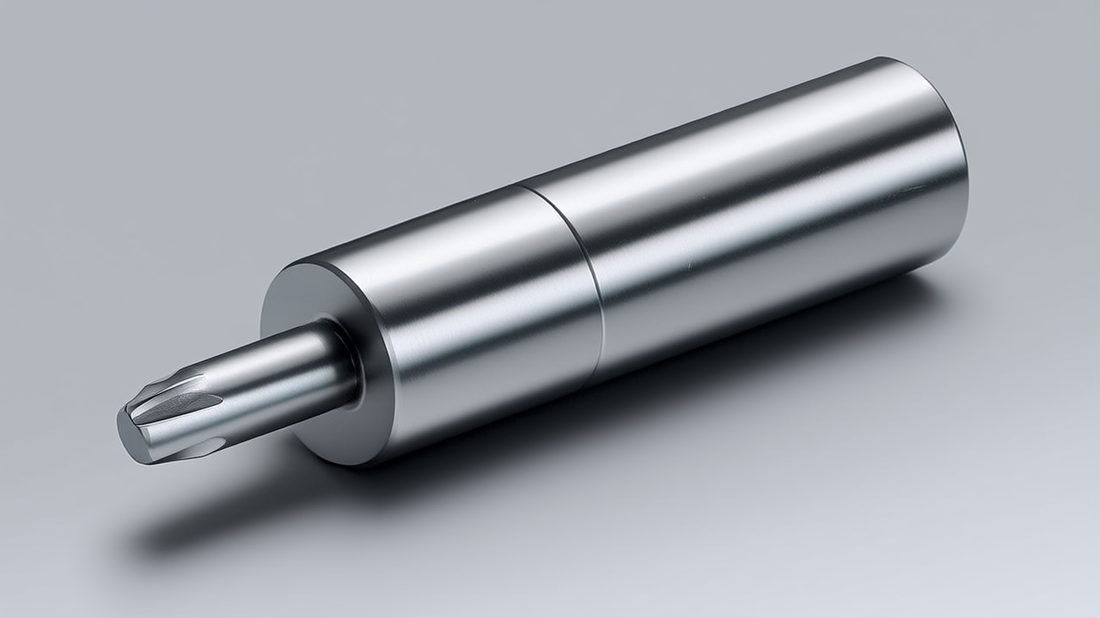
Bushings are the other half of the pair. Where a guide pin locates, a bushing guides and supports - it keeps the pin from canting, protects the jig body from wear, and lets you replace a $3 sleeve instead of a $300 fixture block. Together they form the locating and guiding system that makes high-volume repetition possible. When buyers ask us about precision jigs and tooling guides, the first thing we check is whether the pin-and-bushing design is doing the locating or just pretending to.
What a locating pin actually fixes
- Position: drops the part onto a known X/Y/Z coordinate relative to the cutting datum
- Rotation: a diamond pin or key prevents the part from spinning about the round pin
- Wear path: takes the abuse so the fixture body and the part stay dimensionally clean
- Replaceability: a worn bushing is a 5-minute swap, not a re-machine of the jig base
| Function | Carried by | What it protects |
|---|---|---|
| Locating (position + rotation) | Guide pin + diamond pin | Part datum and cut accuracy |
| Guiding (support + alignment) | Bushing / sleeve | Jig body and pin from wear |
| Replaceability | Interchangeable bushing | Fixture capital cost over time |
Tooling&Fixtures AI part image
How Tooling Machining Holds Locating-Pin Position to ±0.005 mm
Tolerance is a budget - we spend it on the pin seat, not the whole block.
Tooling machining for locating pins is less about cutting a cylinder and more about holding a relationship: the pin's outside diameter to its locating shoulder, and that shoulder to the jig's reference face, all true to each other within the tolerance you are willing to pay for. We concentrate the tight numbers on the features that touch the datum and relax everything cosmetic.
Our workhorse processes here are turn-mill compound centers, Swiss-type lathes for long slender pins, and 5-axis for pins with angled locating features. Single-setup turning means the OD, shoulder, and pilot never lose the datum to a re-clamp. We leave 0.05-0.1 mm for a finishing pass, then hold the contour to +/-0.005 mm and verify the first article on a CMM.
The three-stage process we machine pins by
- Rough and semi-finish in one clamp, leaving a uniform stock allowance on all locating faces
- Heat-treat or harden if the spec calls for it, then stress-relieve so the part doesn't move later
- Finish-grind or hard-turn the locating diameter and shoulder to print, then CMM-verify true position
| Process | Best for | Our typical accuracy |
|---|---|---|
| Swiss-type lathe | Long, slender pins (L/D > 8) | ±0.005 mm OD |
| Turn-mill compound | Pins with cross-holes, flats | ±0.008 mm, one setup |
| 5-axis + hard mill | Angled locating features | ±0.01 mm, no re-fix |
| Cylindrical grind | Hardened pins, final size | ±0.003 mm, Ra 0.2 µm |
Guide Pins vs Bushings: 6 Factors That Decide the Pair
They are not competitors - they are a system. But the split of labor is a choice.
Buyers often ask 'pin or bushing?' as if it is either/or. In practice you almost always need both; the real question is how much locating load the pin carries versus how much guiding and wear protection the bushing takes. The table below frames the six factors we walk customers through before quoting a jig.
| Factor | Guide pin | Bushing |
|---|---|---|
| Primary job | Locates position + rotation | Guides and supports the pin |
| Wear item? | Semi - the working tip | Yes - designed to be replaced |
| Typical fit | g6 / h7 to mate hole | H7 slip or press in jig |
| Hardness | 58-62 HRC (hardened) | Same or slightly softer |
| Replacement cost | Higher (finished pin) | Low (sleeve swap) |
| When it fails | Part datum drifts | Pin cants, jig body wears |
Notice the fourth and fifth rows are really the design rule: standardize the jig-plate bore to H7 and let the bushing be the replaceable, standardized item. That single decision is what keeps a fixture alive for years instead of months.
- Decide what locates (pin) and what guides (bushing) before drawing
- Standardize the jig-plate bore to H7 so bushings are off-the-shelf
- Specify pin hardness 58-62 HRC so it outlives the bushing
- Call out the replaceable bushing as a stock size, not a custom part
- Define the wear limit that triggers a bushing swap
- Ask the shop for a CMM report on the pin's true position, not just a diameter
Tooling&Fixtures AI part image
Mold Inserts and Wear Blocks: Where Surface Hardness Wins
Polish sells the sample; hardness runs the production.
Mold inserts and wear blocks live a different life from guide pins. They sit in the plastic-injection or die-casting tool and take abrasive, thermal, and impact load every cycle. Here the engineering priority flips: a mirror finish is nice for a cosmetic part, but surface hardness and edge retention are what keep the tool making good parts at the hundred-thousandth shot. We see the same lesson in our own wear-block work for customers' automation fixtures.
For mold inserts we normally machine the cavity steel, then the customer or we apply the required surface treatment - nitriding, PVD, or hardened-and-tempered H13. Wear blocks get a similar path: machine to a slightly oversize, heat treat, then finish-grind the wearing face. That sequence matters - grind after hardening, or the block moves and your 'tight' tolerance was a lie on paper only.
How we pick the material by what wears it out
| Wear driver | Recommended material | Why |
|---|---|---|
| Abrasion (glass-filled plastic) | Hardened H13 / D2 | High hardness resists scoring |
| Corrosion (mold sweat) | 420 stainless / 17-4 PH | Corrosion resistance + hardenable |
| Impact (die-cast) | H13 (hot-work) | Tough at elevated temp |
| Polish demand (lens parts) | S136 mirror stainless | Takes 8K Ra 0.2 µm finish |
H13 Steel Machining for Long-Life Guide Pins and Bushings
Hot-work steel is the default for a reason - if you machine it right.
H13 steel machining is our go-to for tooling that sees heat and impact: die-cast tooling, hot-runner components, and the longer-life guide pins and bushings in high-volume jigs. It hardens to 44-52 HRC with excellent toughness, so a pin made from H13 survives the pounding that would crack a softer steel. The catch is machinability - pre-hard H13 is gummy, and fully hardened H13 needs hard milling or grinding rather than conventional turning.
We machine H13 in two routes. For pre-hard (around 30-35 HRC) pins we turn-mill directly and then through-harden and finish-grind. For maximum life we machine soft, heat-treat to 48-52 HRC, then cylindrical-grind the locating diameter to +/-0.005 mm and Ra 0.2-0.4 µm. Either way, the locating face is finished after hardening - never before.
Pros
- Excellent toughness at heat and impact
- Hardens to 44-52 HRC for long wear life
- Widely stocked, so lead times stay short
- Forgiving enough for both pins and mold inserts
Cons
- Gummy to machine pre-hard; needs sharp tooling
- Finish grinding required after hardening
- Lower corrosion resistance than stainless grades
- More expensive than mild tool steels like P20
| Material | Hardness range | Best use in tooling |
|---|---|---|
| H13 (hot-work) | 44-52 HRC | Guide pins, bushings, die-cast tools |
| S136 (mirror SS) | 48-52 HRC | Mold inserts needing polish + corrosion |
| P20 (pre-hard) | 28-35 HRC | Large low-wear jig bodies |
| 4140 (alloy) | 28-32 HRC | Structural pins, non-critical guides |
- Confirm material cert and heat number for traceability
- Agree pre-hard vs hardened-and-ground route
- Specify the finish operation AFTER heat treatment
- Define locating diameter tolerance and Ra target
- Ask for CMM true-position on the hardened pin
Tooling&Fixtures AI part image
A Buyer's Checklist for Precision Jigs and Locating Pins
Hand this to a supplier and the tire-kickers filter themselves out.
Specifying precision jigs is less about finding the cheapest machine and more about finding a shop that respects the datum. The list below is what we are happy to answer with data - and the difference between a real precision source and a broker with a logo.
- Ask for the cert stack: ISO 9001 minimum, ISO 13485 completed and IATF 16949 in application a strong plus
- Request material certs traceable to the heat lot for every pin and block
- Confirm the process holds locating position to +/-0.005 mm, not just a diameter
- Get a CMM first-article report with true-position, not a caliper photo
- Agree the finish condition: hardened-and-ground or as-turned, with Ra called out
- Verify lot traceability from raw bar to finished locating pin
Common Sourcing Mistakes for Mold Inserts and Wear Blocks
Most tooling failures are designed in the drawing, not made on the machine.
- Machining the critical face before hardening, so the part moves and the 'tight' tolerance is paper-only
- Calling a mirror Ra 0.2 µm finish on an abrasive-wear face that lasts a day in production
- Forgetting the bushing is the wear item and hardening the jig plate instead - now you scrap the expensive block
- Specifying a custom bushing size when an H7 standard sleeve would have been a 5-minute swap
- Leaving no wear-limit callout, so nobody knows when to replace the bushing until parts go bad
- Tolerancing the coated or hardened condition as if it were the raw condition
Tooling&Fixtures AI part image
Which Tooling Machining Process Fits Your Volume?
Prototype, pilot, or million-a-year - the right process changes with the run.
Tooling machining strategy should follow your volume, not your pride. A one-off fixture proving a concept does not need hardened H13 and CMM audits on every pin; a million-a-year stamping jig does. Matching the process to the run is how we keep a prototype affordable and a production tool reliable.
| Volume / need | Recommended process | Why it fits |
|---|---|---|
| Prototype (1-10) | Soft-turn + light harden | Fast, cheap, good enough to prove |
| Pilot (100-1k) | Turn-mill + CMM first article | Balances speed and verification |
| Production (10k+/mo) | H13 hardened + ground | Wear life pays back the cost |
| High-temp die work | H13 hot-work + nitride | Toughness at heat |
Two quick decision rules we give buyers: Choose hardened-and-ground H13 if your jig will see more than 50,000 cycles a year - the longer pin life is cheaper than frequent bushing swaps. Choose a soft-turned mild pin if you are proving a concept and will redesign before volume. Either way, let the bushing be the wear item.
Tooling&Fixtures AI part image
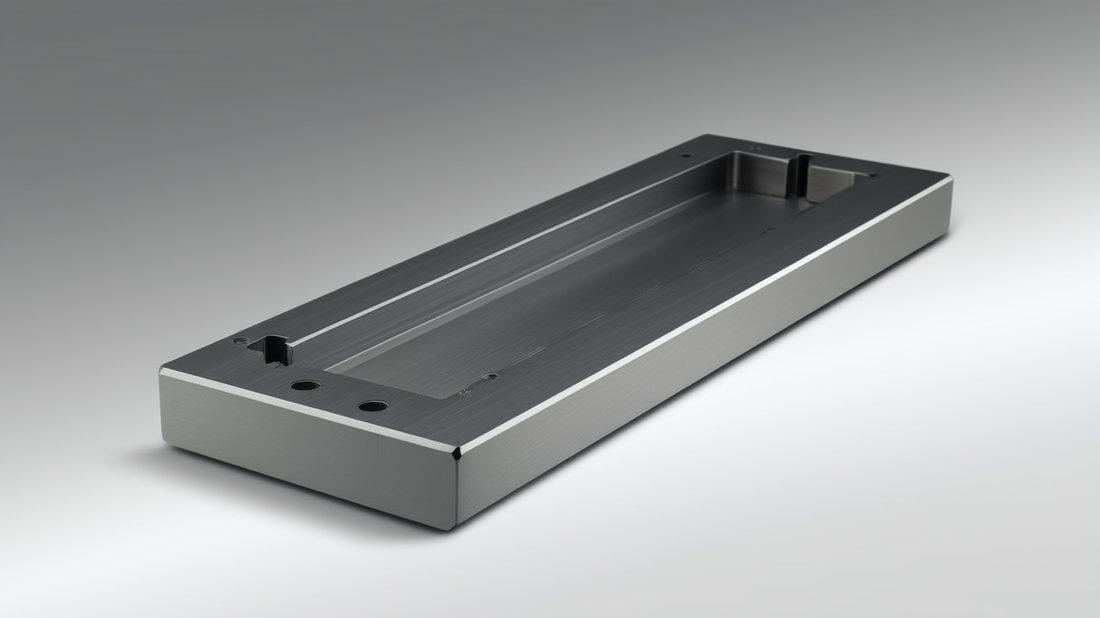
Tooling&Fixtures AI part image
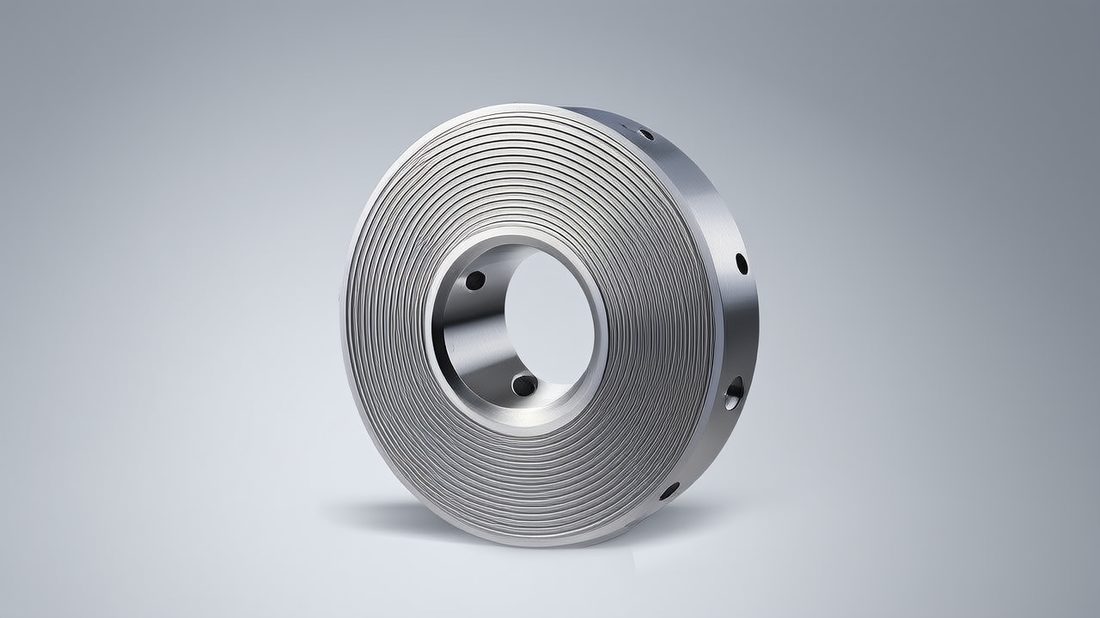
Tooling&Fixtures AI part image
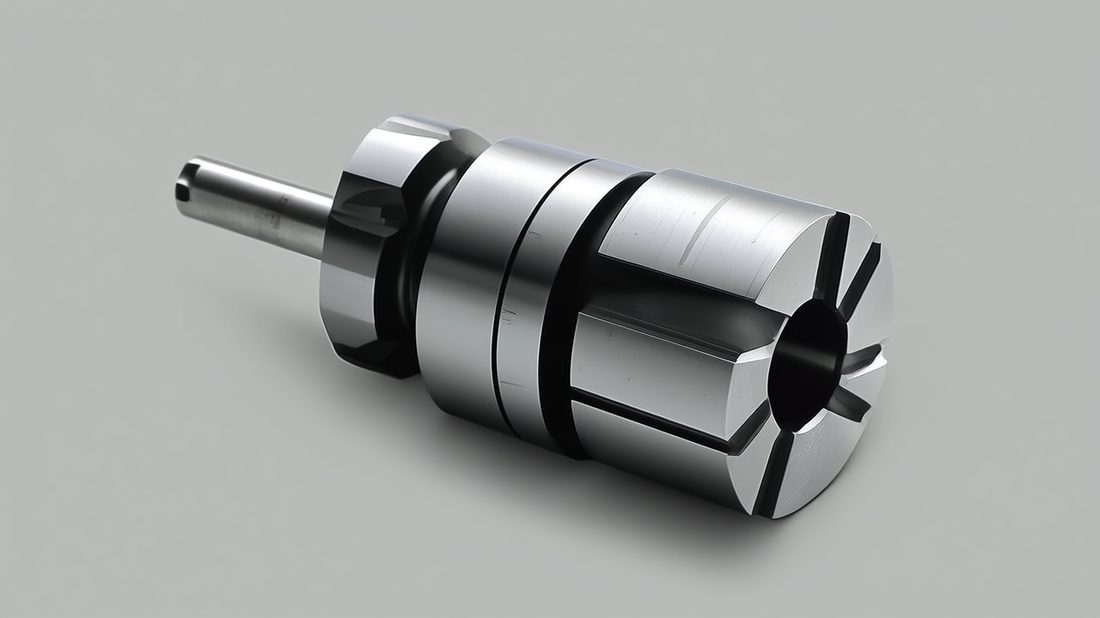
Tooling&Fixtures AI part image
FAQ: precision jigs & Tooling&Fixtures Buyer Questions
A: For most precision jigs, hold the locating diameter to +/-0.005 mm with a true-position callout referenced to the pin shoulder and the jig face. The diameter alone is not enough - true position is what guarantees the part seats consistently. We verify this on a CMM first article, not with a caliper.
A: The bushing should be the wear item. Standardize the jig-plate bore to H7 and let the bushing be a replaceable, often off-the-shelf sleeve. Hardening the jig plate instead turns a $3 wear item into a $300 re-machined block when it eventually wears.
A: Yes when the tool sees heat, impact, or high cycle counts - H13 hardens to 44-52 HRC with excellent toughness, so pins last far longer than in mild steel. For a low-volume prototype, a softer pin or 4140 may be the better value. The right call depends on your annual cycle count.
A: Hardening and stress-relieving move the material. If you machine the critical locating or wearing face before heat treatment, the part shifts and your tight tolerance exists only on paper. We always harden first, then finish-grind or hard-mill the working face to the final dimension.
A: Yes. We supply material certs traceable to the heat lot, a CMM first-article report with full datum and true-position references, in-process gauging for batch parts, and lot-level traceability from raw bar to finished locating pin or bushing.
A: Single custom pins and prototype fixtures are routine on our floor. Hardened-and-ground H13 earns its cost once a jig will see roughly 50,000+ cycles a year, because the longer pin life beats frequent bushing swaps. For a concept proof we often start soft-turned, then upgrade after the design locks.
Send us your jig or locating-pin drawing for a free DFM review - we will tell you where a diamond pin beats a second round pin, where a standard H7 bushing saves real money, and whether your tooling should be hardened H13 or a faster soft-turned pin. Reach out via our inquiry page and let's cut the first article.
Request a Free CNC Quote